Hulls building
| The stations frames for the hull shape were obtained from OSB panels. I used this material because it is very stable, cheap and enough hard, for instance to hold nails for temporary planking strips fairing. Each frame was drawn on the panel using water lines, center line and diagonals, according to the table and drawing supplied with the project. The values for each water line and diagonal was then reported on the frames specularly respect to center line. Eeach point obtained was then marked with a little nail to facilitate the marking, we did with the help of flexible strip of wood (2-3 mm thick) and a pencil. After marking, the frames are simply obtained with a jigsaw. At this point the most important work is to align the frames on the building frame and bloks. The final result for the hulls shape and accuracy will mostly depend from this early preparation work. For the building frame, two solid timbers was connected in parallel with bloks for each station, according to the project. The frames carefully aligned, with the help of a tight string fixed to the first and last station bloks centres; each frame was then centered with the help of a plumb). In addition the frames have to be levelled according to their water line 1. To do this I used a water level, home made with a small clear plastic pipe, long enough to cover the hull length. After many controls the frames was then secured with screws to transoms. | |||
|
Spring 2004 the project start |
 |
||
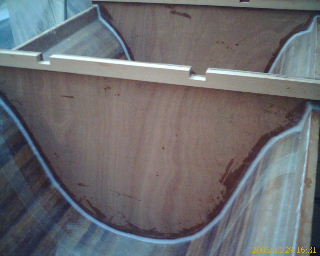
| For a final control I found useful to make a hole at the cross point of water line 1 and center line of frames. It is then very simple and funny to verify the good or bad work with a laser pen. In order to prepare the work inside the workshop, I decided to divide the building frame in three parts to joint later. |
 |
||
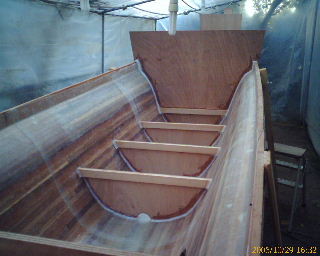
| Building frame parts, complete of station frames, transferred under a shelter in my garden and joint. It was then levelled with a water level. Before starting the planking work, the frames aligment and water lines level was cecked again. |
 |
||
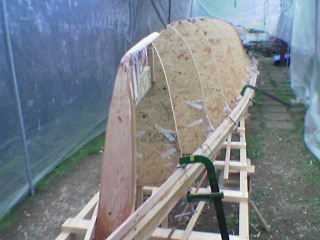
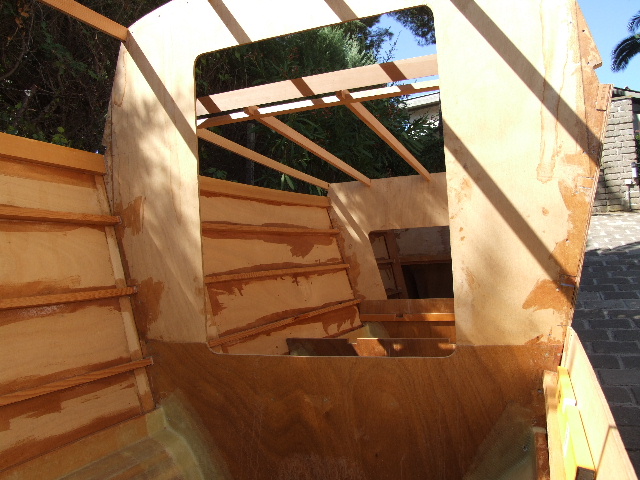
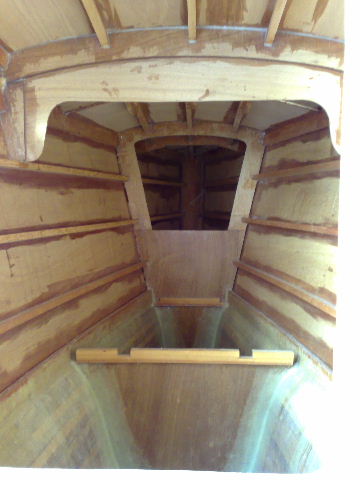
| The inner stem is put in place. |
 |
||
| The knuckle "gunwale", made of 3"x1" douglas timber, is fixed temporary with screw to some frames just to maintain in place up to the end of planking. To the inner stem they are definitely fixed with epoxi and screw. To fix the timbers at the right slope, the frames base were notched, calculating the slope with a geometrical formula using the with at knucle, at sheer and the distance from them (all dimensions according to the project tables). | |||
 |
|||
 |
|||
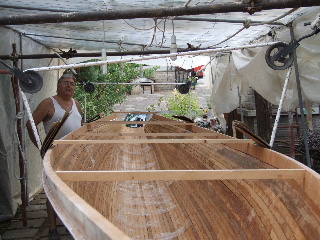
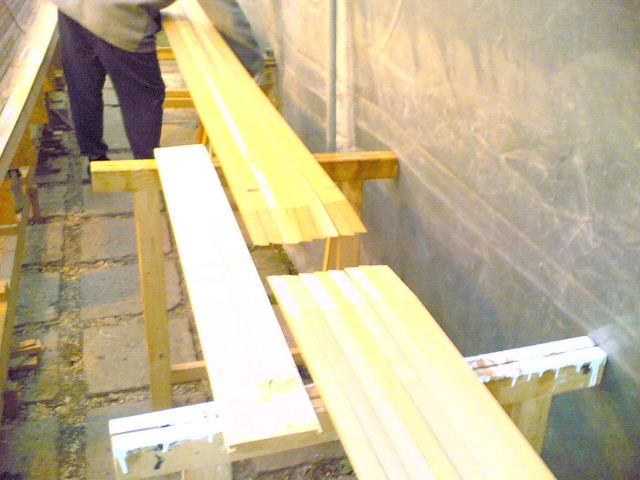
| Cedar strips ready to be used. |
 |
||
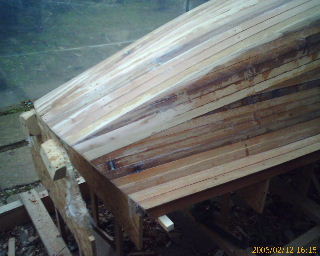
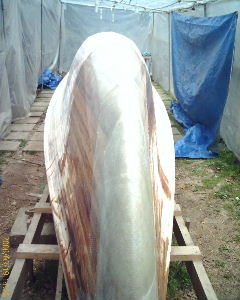
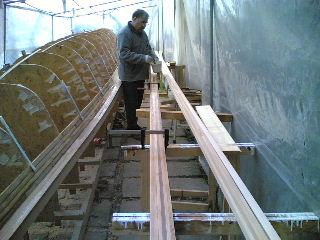
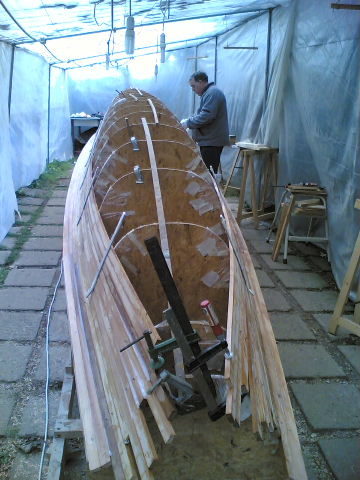
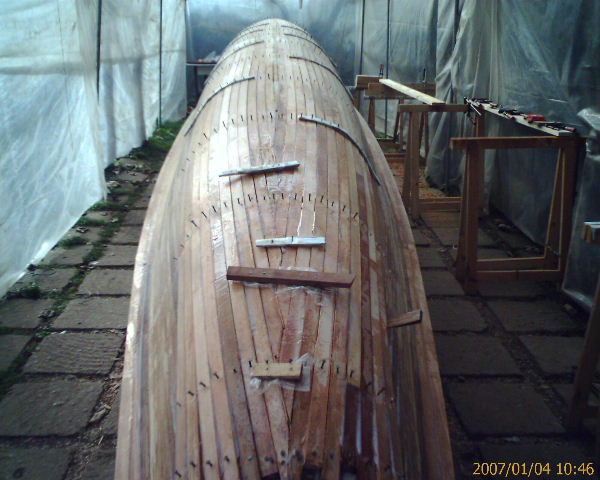
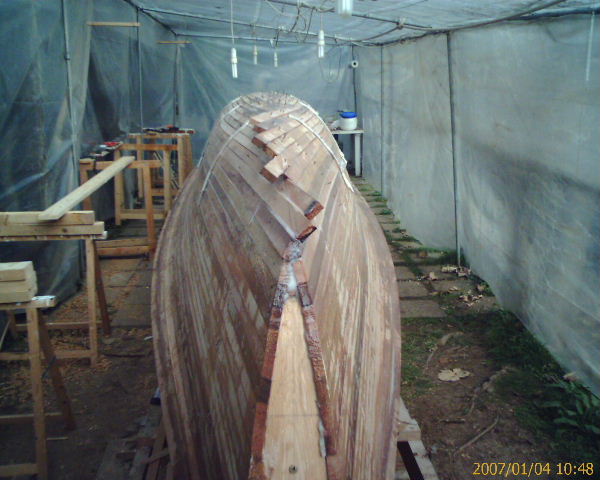
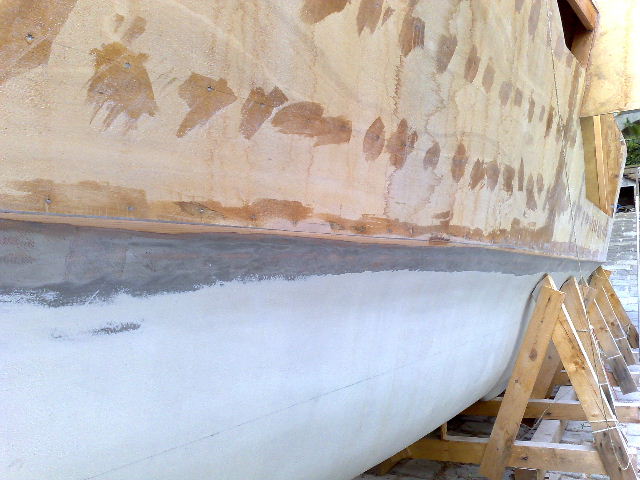
| Below is shown the strarting of planking. Strips was joined by scarfing for all the lenght of the hull. The first strip is faired to the knucle "gunwale" with screws and epoxi, after bevelling of the 3"x1" timber. | |||
 |
|||
 |
|||
 |
|||
 |
|||
  |
|||
 |
|||
 |
|||
 |
|||
  |
|||
  |
|||
  |
|||
  |
|||
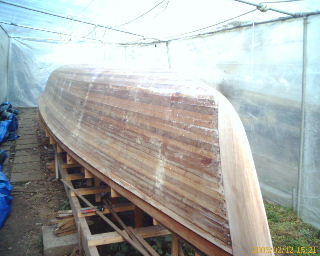
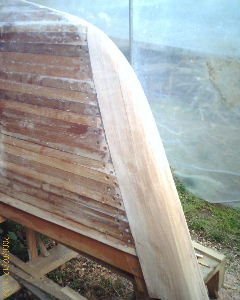
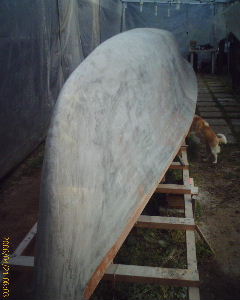
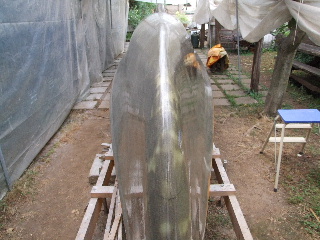
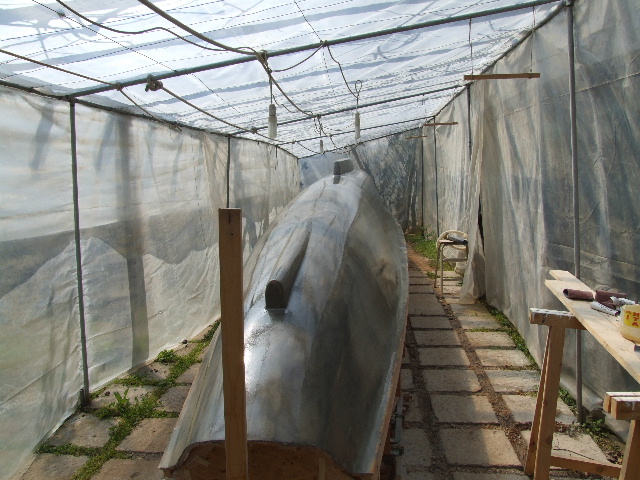
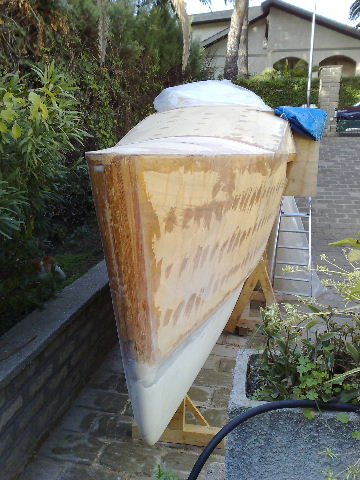
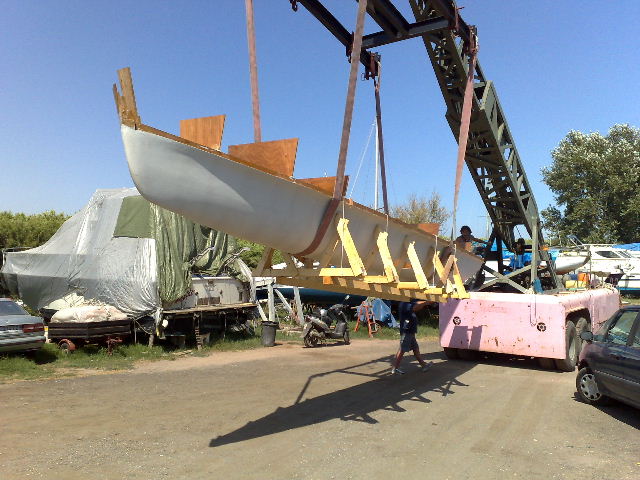
| The method I experimented to turn the hull, gave me a great satisfaction (only two hands could be used) |
 |
||
  |
|||
  |
|||
|
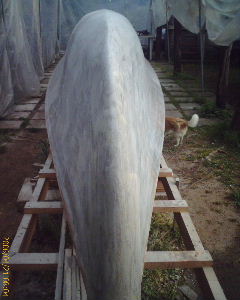
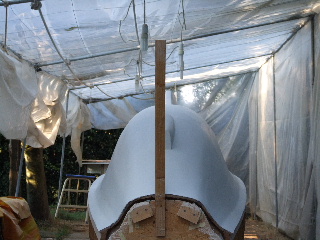
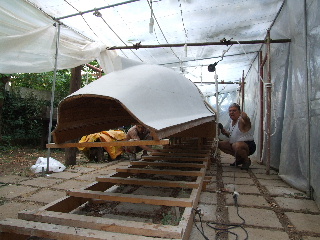
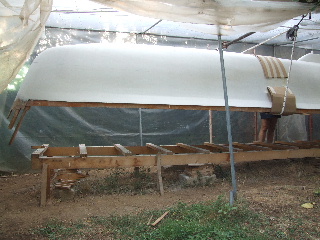
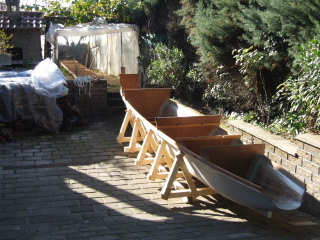
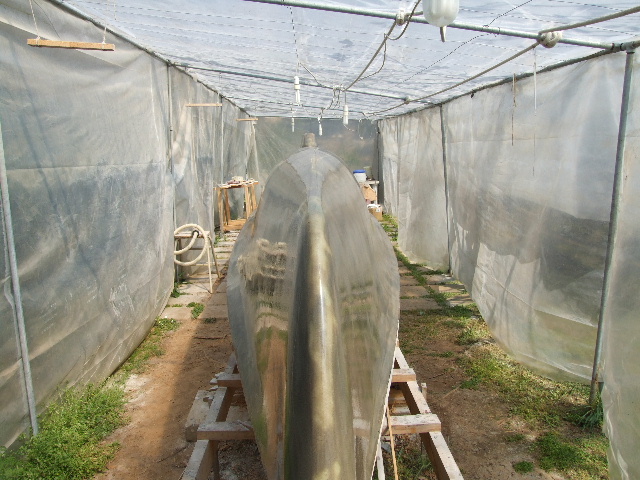
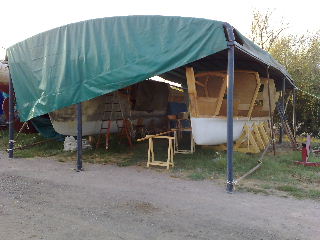
The first hull removed from inside shelter protection to prepare
free space for second hull strip planking December 2007 |
|||
  |
|||
 |
|||
  |
|||
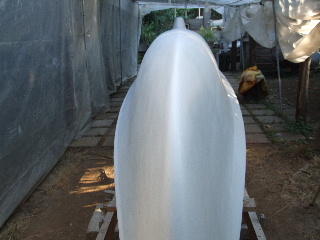
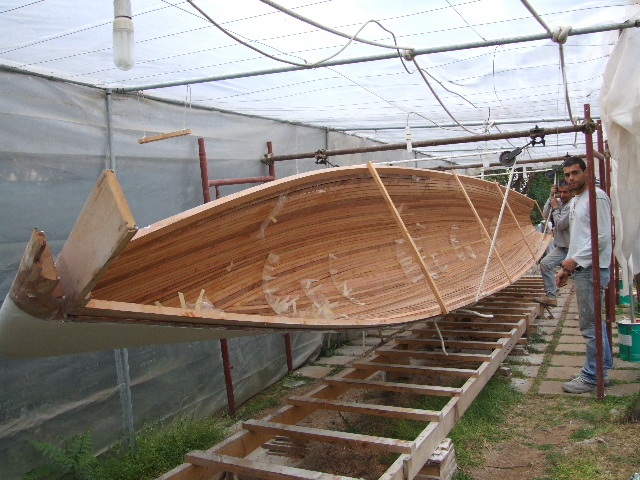
| Second hull planking has been a lot faster respect to the first. It take only 15 days. Experience accumulated helped me to decide to change the metodology. | |||
  |
|||
 |
|||
 |
|||
  |
|||
  |
|||
  |
|||
  |
|||
|
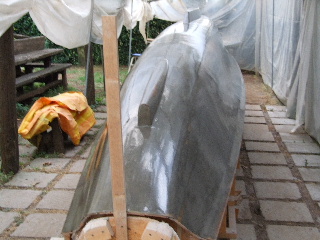
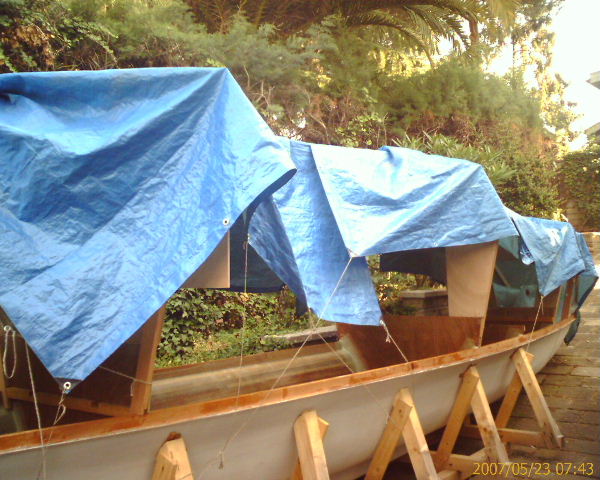
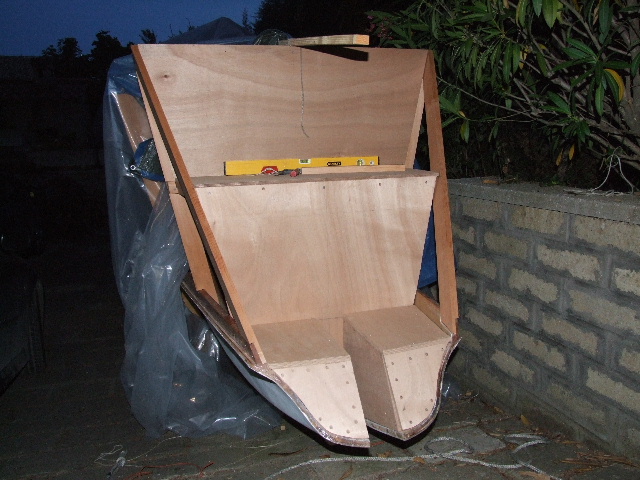
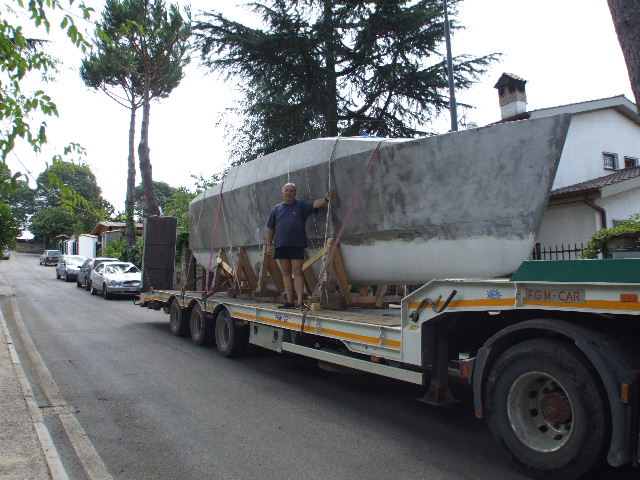
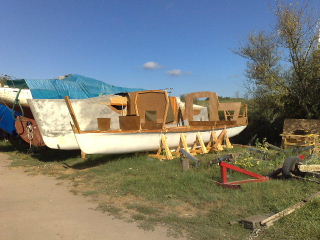
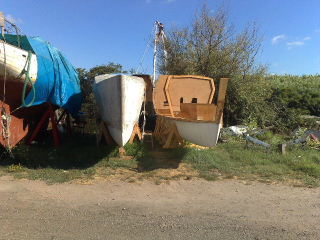
End of July 2008 I had to move from my house garden to a yard near the sea side. After completion of hulls joint the transport could have been difficult and expensive. |
|||
 |
|||
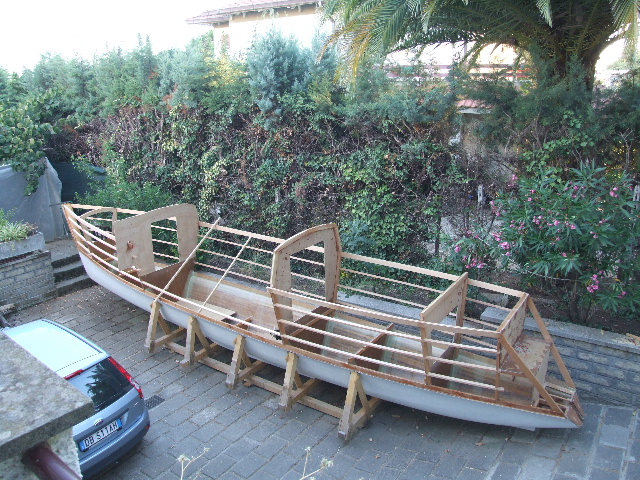
| Arrival to the new house on the Tiber River side at Fiumicino (Rome), two miles before arrival to the sea. |
 |
||
  |
|||
  |
|||